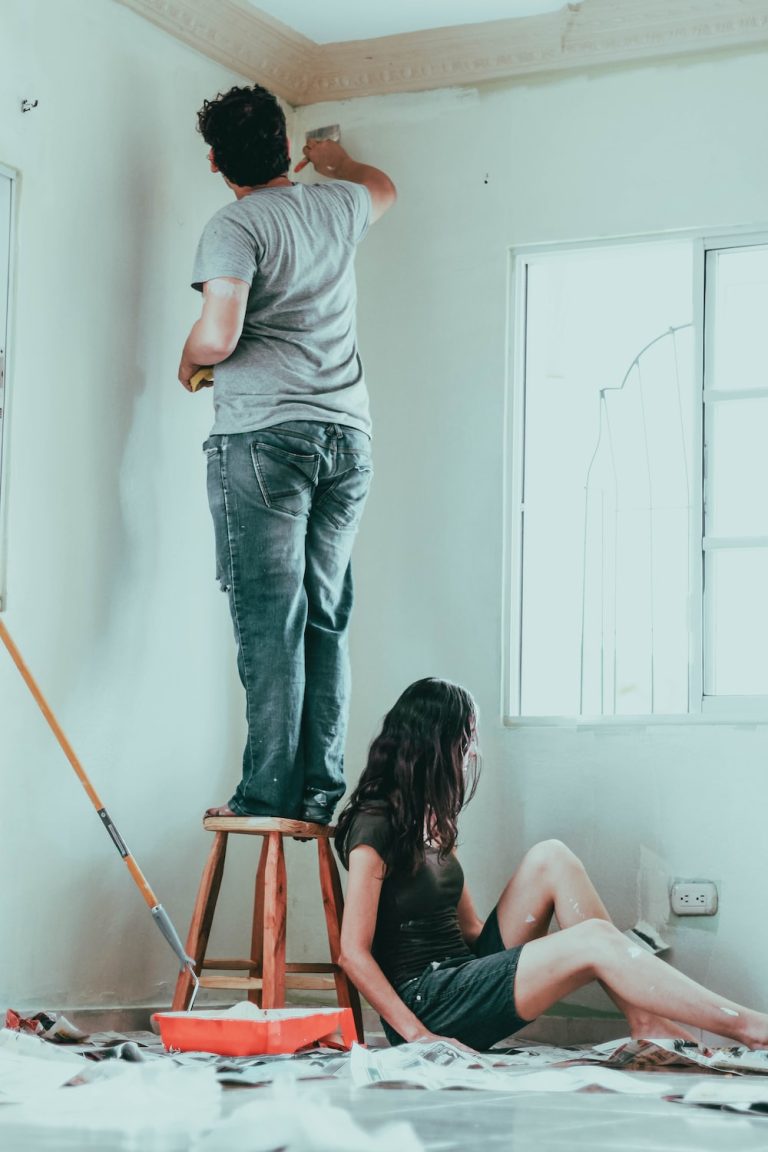
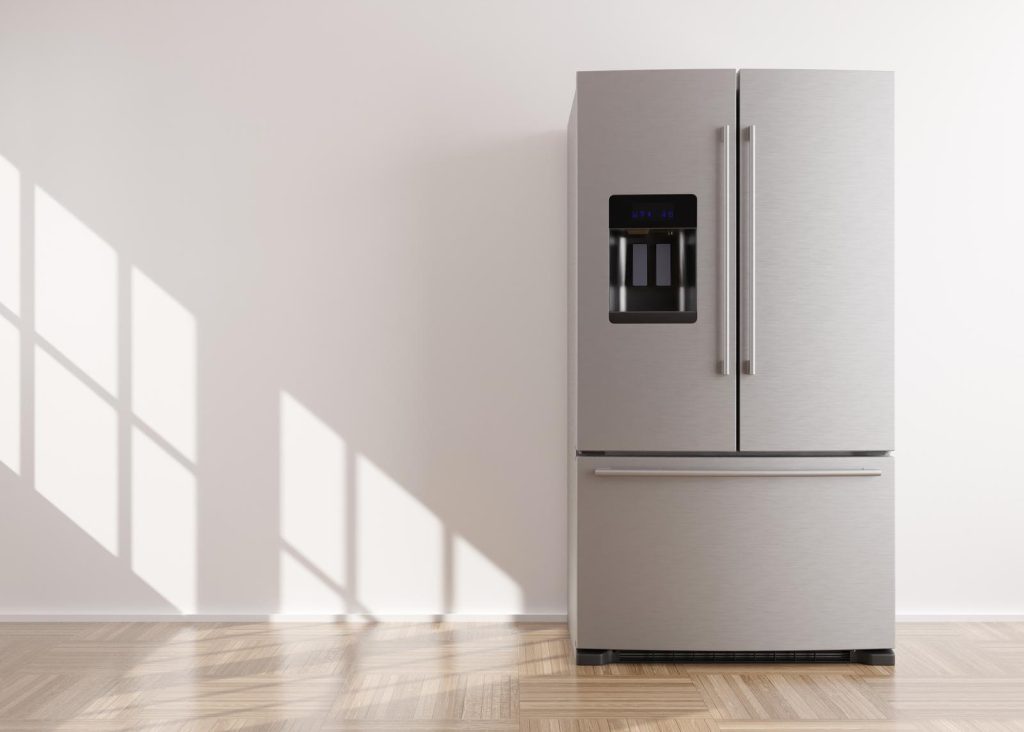
Sanding Stainless Steel Appliances: Achieving a Perfect Polish in 5 Steps
Have you ever noticed scratches or scuffs on your stainless steel appliances?
It can be frustrating when they don’t look as shiny and new as they once did.
Fortunately, sanding and polishing are simple steps that can help restore the original finish of your stainless steel panels.
A sanding pad with fine grit is ideal for removing scratches and scuffs from stainless steel surfaces.
After sanding, polishing the surface helps achieve a smooth and glossy finish. You can make your appliances look brand new again with just a few steps.
If you’re wondering how to sand stainless steel, this guide will provide all the information you need.
We’ll cover everything from choosing the right materials to achieving a polished finish on your stainless steel appliances.
So let’s dive in and learn more about sanding and polishing stainless steel panels!
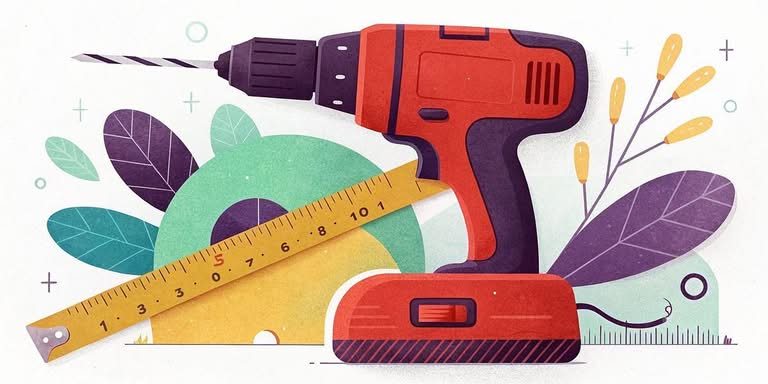
Required Tools and Materials for Sanding Stainless Steel Appliances
Sandpaper: The Primary Tool for Sanding Stainless Steel Appliances
Sanding stainless steel appliances may seem daunting, but with the right tools and materials, it can be done easily.
The primary tool needed for sanding stainless steel appliances is sandpaper. Sandpaper comes in different grits, which determine how coarse or fine the abrasive particles on the paper are.
When sanding stainless steel, using sandpaper that won’t scratch or damage the surface is essential.
Grit Sandpaper with a range of 220 to 400 Is Recommended for Sanding Stainless Steel Appliances.
You’ll want to select one with a grit range of 220 to 400. This range is ideal because it’s not too coarse that it will scratch the surface of your appliance, but also not too fine that it won’t remove any imperfections or scratches.
If you’re unsure about which grit to choose, start with a finer grit and work your way up until you find one that works best for your appliance.
It’s always better to start with a finer grit, as you can always move up if needed.
Other Tools and Supplies Required for Sanding Stainless Steel Appliances
Aside from sandpaper, other tools and supplies are required for sanding stainless steel appliances.
These include:
- A Sanding Block: A sanding block helps keep the pressure evenly across the surface area being sanded. It also helps prevent uneven scratches.
- Safety Goggles: When working with power tools such as an electric sander or angle grinder, safety goggles are necessary to protect your eyes from flying debris.
- Dust Mask: A dust mask is essential when working with any dust or debris generated during sanding. It protects against inhaling harmful particles into your lungs.
It’s important to note that when sanding stainless steel, you should avoid using steel wool or wire brushes.
These materials can leave behind small particles that can rust and damage the surface of your appliance.
Step-by-Step Guide on How to Remove Fine Scratches from Stainless Steel Appliances
Understanding the Problem
Stainless steel appliances are a popular choice for their sleek and modern appearance. However, they are prone to scratches, which can be unsightly and diminish the overall look of your kitchen.
If you have fine scratches on your stainless steel appliances, don’t worry!
You can remove them with a few simple steps and restore the shine to your appliances.
Step-by-Step Guide
Step 1: Clean the Surface
Before removing scratches from your stainless steel appliance, ensure it’s clean. Use a soft cloth or sponge to wipe down the surface with warm water and mild soap.
Rinse thoroughly with clean water and dry with a soft towel.
Step 2: Identify the Direction of the Grain
Stainless steel has a grain that runs in one direction. It’s essential to identify this direction before you start sanding because sanding against the grain can cause more damage.
To determine the direction of the grain, look closely at the surface of your appliance in good light.
Step 3: Sand with Finer Grits First
Start by using 320-grit sandpaper to sand out any fine scratches on your appliance. Sand in long strokes along with the grain until all visible signs of scratching disappear.
Then move on to finer grits such as 400-grit or even higher.
Step 4: Sand Against The Grain For Deep Scratches
For deeper scratches that cannot be removed by sanding along with the grain, use a coarser grit like 220-grit paper and gently sand against it using circular motions until it disappears entirely or is less visible.
Step 5: Polish The Surface
After removing all visible scratches from your stainless steel appliance, it’s time to polish its surface using commercial stainless steel cleaner or homemade cleaning solutions.
Apply the cleaner to a soft cloth and buff the surface in the direction of the grain until it shines.
Tips for Removing Deep Scratches from Stainless Steel Appliances
- For deep scratches, use a coarser grit like 220-grit sandpaper.
- Always sand with the grain of your appliance to avoid causing more damage.
- Start with finer grits and work up to coarser ones if necessary.
- Use a light touch when sanding to avoid creating more scratches.
A Simple Scratch Removal Process for Stainless Steel Appliances
Removing scratches from stainless steel appliances is a simple process that requires only a few tools and materials.
Following these steps, you can restore your appliances’ shine and eliminate unsightly scratches.
Easy Steps to Restore the Shine of Scratched Stainless Steel Appliances
By using simple household items such as baking soda or vinegar, you can easily restore the shine of scratched stainless steel appliances.
Mix baking soda and water into a paste, apply it on the scratched area, and leave it for some time before rinsing it off with water.
Alternatively, mix vinegar with olive oil in equal proportions and rub onto the affected area in circular motions.
Wipe off excess oil using another clean cloth.
How to Remove Fine and Deep Scratches from Stainless Steel Appliances
Non-Abrasive Cleaners and Microfiber Cloths for Fine Scratches
Fine scratches on stainless steel appliances can be a real eyesore, but luckily they are also the easiest type of scratch to remove.
To start, you’ll want to use a non-abrasive cleaner such as vinegar or dish soap mixed with warm water.
Apply the solution to a microfiber cloth and gently rub it onto the scratched area in circular motions.
It’s important not to use any abrasive cleaners or scrubbers as these can create more scratches on the surface.
After rubbing in the cleaner for a few minutes, rinse off the area with clean water and dry it with another microfiber cloth. If you still see some scratches remaining, repeat this process until they disappear.
Sanding with Fine-Grit Sandpaper and Buffing for Deep Scratches
Sanding is required if your stainless steel appliance has deeper scratches that cannot be removed with a non-abrasive cleaner.
First, identify the direction of the grain on your appliance by running your fingers over its surface. You should feel ridges running in one direction – called “the grain.”
Next, choose a fine-grit sandpaper (between 320-600 grit) and fold it into quarters so that you have four sharp edges to work with.
Wet the sandpaper and begin sanding in long strokes along the direction of the grain.
Be sure to apply even pressure throughout each stroke and avoid pressing too hard as this can cause further damage.
Check your progress often by wiping away any debris or residue left behind from sanding.
Once you’ve sanded out all deep scratches, wipe down your appliance using a clean microfiber cloth before buffing it with stainless steel polish.
Apply a small amount of polish onto another microfiber cloth and rub it on the surface using circular motions.
Buff the surface until it shines and all remaining scratches are no longer visible. It’s important to note that using a polishing compound with grit is not recommended, as this can cause further damage to your appliance.
How to Remove Deep Scratches in Stainless Steel Appliances
Recommended Sandpaper Grit for Removing Deep Scratches
Sanding is an effective method to remove deep scratches from stainless steel appliances.
However, it is essential to use the right sandpaper grit to avoid causing further damage. For removing deep scratches, it is recommended to use sandpaper with a grit of 220 or higher.
The higher the grit number, the finer the sandpaper, making it ideal for smoothing out scratches.
Sanding Technique for Removing Deep Scratches
When sanding stainless steel appliances, always go with the grain direction. Going against the grain can cause additional scratches and damage.
Begin by cleaning the appliance’s surface using warm water and mild soap; then dry it thoroughly before starting sanding.
Wrap a piece of 220-grit sandpaper around a foam block or sponge and gently rub along the scratch’s direction. Use even pressure while maintaining a consistent speed throughout the process.
It may take some time to remove deep scratches completely, so be patient and keep checking your progress frequently.
Once you have removed all visible marks on the surface, switch to finer-grit sandpaper (320-grit) and repeat until you achieve a smooth finish.
Additional Tips for Removing Deeper Scratches
For deeper scratches that cannot be removed with 220-grit sandpaper alone, follow these additional steps:
- Clean: Clean your appliance thoroughly with warm water and mild soap before beginning.
- Fill: Apply a small amount of metal filler over the scratch using a putty knife or spatula.
- Wait: Allow enough time for the filler to dry according to its instructions.
- Sand: Once dry, use 220-grit sandpaper on top of where you applied metal filler in gentle strokes going along with grain direction.
- Smooth: After removing most of the scratch using 220-grit paper, switch to 320-grit sandpaper and continue until the surface is smooth.
- Polish: Once you have achieved a smooth finish, use a stainless steel polish to restore the appliance’s shine.
Tips and Techniques for Polishing Stainless Steel Appliances
Proper Cleaning Technique is Important Before Polishing Stainless Steel Appliances
Before starting to polish your stainless steel appliances, cleaning them thoroughly is essential. You can use warm water and mild detergent to remove any dirt or grime from the appliance’s surface.
Be sure to rinse off the cleaning solution with clean water and dry the surface using a soft cloth.
Use a Microfiber Cloth to Avoid Scratches While Polishing Stainless Steel Appliances
When polishing stainless steel appliances, it’s crucial to use a soft cloth that won’t scratch the surface. Microfiber cloths are an excellent choice because they’re gentle on stainless steel surfaces and don’t leave any lint or residue behind.
To polish your stainless steel appliance, apply some olive oil onto the microfiber cloth and rub it into the surface in circular motions.
This will help remove any fingerprints or smudges on your appliance while leaving behind a shiny finish.
Applying a Small Amount of Olive Oil Can Help in Polishing Stainless Steel Appliances
Olive oil is an excellent natural alternative for polishing stainless steel appliances. It helps remove fingerprints, smudges, and other marks on your appliances while also leaving behind a protective layer that prevents future stains.
To use olive oil as a polish for your stainless steel appliances, first clean the surface with warm water and mild detergent.
Then apply a small amount of olive oil onto a microfiber cloth and rub it into the surface in circular motions until you achieve your desired shine.
Avoid Using Abrasive Materials or Cleaners That Contain Bleach When Polishing Stainless Steel Appliances
When polishing stainless steel appliances, avoiding using abrasive materials that can scratch or damage the surface is crucial.
Similarly, cleaners that contain bleach can corrode or discolor stainless steel surfaces over time.
Instead, opt for gentle cleaning solutions like warm water and mild detergent when cleaning your stainless steel appliances.
If you need something stronger, look for cleaners specifically designed for stainless steel surfaces.
Best Home Remedies for Cleaning Stainless Steel Appliances
Vinegar and Olive Oil: A Powerful Combination for Cleaning Stainless Steel Appliances
If you’re looking for a natural and effective way to clean your stainless steel appliances, look no further than vinegar and olive oil.
This dynamic duo works wondersGrime, and fingerprints from stainless steel surfaces.
To use this method, start by mixing equal parts white vinegar and olive oil in a spray bottle. Shake well to combine the ingredients.
Next, spray the solution onto a microfiber cloth and use it to wipe down your stainless steel appliances.
The vinegar will help dissolve any dirt or grime on the surface, while the olive oil will leave a protective shine.
One of the great things about this cleaning method is that you likely already have both ingredients in your kitchen.
Plus, it’s an affordable alternative to expensive commercial cleaners that can contain harsh chemicals.
Baking Soda: An Effective and Affordable Solution for Removing Tough Stains from Stainless Steel Appliances
Stainless steel appliances are known for their sleek appearance but can quickly become tarnished with stains or discoloration.
Fortunately, baking soda is an effective solution for removing tough stains from stainless steel surfaces.
To use this method, mix baking soda with water to create a paste-like consistency.
Apply the paste to the stained area using a soft-bristled brush or sponge.
Let the mixture sit on the stain for 5-10 minutes before wiping it away with a damp cloth.
Baking soda is an excellent choice because it’s non-abrasive and won’t scratch your stainless steel appliances’ surface as some commercial cleaners might.
Plus, it’s affordable and readily available at most grocery stores.
Club Soda: A Quick and Easy Way to Remove Fingerprints and Smudges from Stainless Steel Surfaces
Club soda is an excellent option if you’re looking for a quick fix to remove fingerprints or smudges from your stainless steel appliances.
This fizzy drink contains carbonic acid, which helps dissolve any dirt or grime on the surface.
To use this method, pour a small amount of club soda onto a microfiber cloth and gently rub it onto the affected area.
The carbonation will help lift away any smudges or fingerprints, leaving your appliances looking shiny and new.
One of the benefits of using club soda is that it’s gentle enough to use daily without damaging your stainless steel appliances’ surface.
Plus, it’s another affordable alternative to expensive commercial cleaners.
Microfiber Cloth: The Perfect Tool for Cleaning Stainless Steel Appliances Without Leaving Streaks or Scratches
One crucial tool you’ll need is a microfiber cloth.
These soft and absorbent cloths are perfect for wiping away dirt and grime without scratching the surface.
To use this method, start by dampening a microfiber cloth with warm water. Wipe down your stainless steel appliance in circular motions, covering all areas thoroughly.
If you’re using one of the home remedies mentioned above, such as vinegar and olive oil or baking soda paste, apply it to the microfiber cloth before wiping down your appliance.
One of the benefits of using a microfiber cloth is that it won’t leave streaks on your stainless steel surfaces like some other materials might.
Plus, they’re reusable and easy to clean after each use.
Liquid cleaner and toothpaste method for polishing stainless steel appliances
Effective Steel Polish Options
Sanding stainless steel appliances may seem like a good idea but can cause more harm than good. Instead, you can use liquid cleaner or toothpaste to polish your stainless steel appliances effectively.
These options are readily available at home and are safe to use on your appliances.
Using a Clean Microfiber Cloth
Applying a liquid cleaner or toothpaste to polish your stainless steel appliances with a clean microfiber cloth is best.
The microfiber cloth is gentle enough not to scratch the surface of your appliance while still being able to remove dirt and grime effectively.
To get started, apply the liquid cleaner or toothpaste onto the microfiber cloth and rub it gently onto the surface of your appliance in circular motions.
Be sure not to press too hard as this could cause scratches on the surface of your appliance.
Finishing Touches
After applying the liquid cleaner or toothpaste onto your appliance’s surface, wipe it off with a dry cloth. This will help prevent water spots from forming on the surface of your appliance.
For an extra shine on your stainless steel appliance, apply mineral or olive oil after wiping off any excess water.
Mineral oil helps protect against fingerprints and smudges while providing excellent shine.
Olive oil is another option that provides extra shine but does not offer protection against fingerprints.
What Not To Use When Cleaning Stainless Steel?
When cleaning stainless steel appliances, there are certain things you should avoid using as they can damage the surface of your appliance:
- Abrasive sponges: Using abrasive sponges can scratch and damage the surface of your appliance.
- Steel wool: Steel wool is too harsh for stainless steel surfaces.
- Chlorine bleach: Chlorine bleach is corrosive and can cause pitting on the surface of your appliance.
- Ammonia: Ammonia can cause discoloration and damage to the surface of your appliance.
Clean away the paste after sanding and polishing stainless steel appliances.
Remove all the paste from the surface of the stainless steel appliance.
When you’re done sanding and polishing your stainless steel appliance, it’s essential to remove all the paste.
Any remaining residue can cause discoloration or rust on your appliance’s surface.
To remove all the paste, use a clean, damp cloth to wipe down the entire surface of your appliance.
Make sure to get into any crevices or hard-to-reach areas.
If you notice that some areas still have stubborn paste residue, try using a soft-bristled brush or toothbrush to scrub those areas gently. Be careful not to apply too much pressure as this could scratch the surface of your appliance.
Clean the residue left by the paste after sanding and polishing.
After removing all of the past, there may still be some residue left behind. Mix a small amount of dish soap with warm water in a bowl to clean this up.
Dip a soft cloth into this mixture and wring out any excess liquid.
Using this damp cloth, wipe down your appliance again. This time you should focus on areas where the visible residue is left behind from sanding or polishing.
Be sure to rinse your cloth frequently as you work through each section of your appliance.
Use a soft cloth to wipe off any remaining residue.
Once you’ve finished cleaning away all traces of paste and residue from your stainless steel appliance, giving it one final wipe-down with a clean, dry cloth is essential.
This will help ensure that no moisture remains on its surface that could lead to rust or other damage over time.
When wiping off any remaining residue, be sure to use a soft microfiber cloth or another gentle material that won’t scratch or damage your appliance’s finish.
You can also consider using an oil-based cleaner specifically designed for stainless steel appliances if you want an extra layer of protection against scratches or other damage.
Achieving a Smooth Finish on Your Stainless Steel Appliances
Achieving a smooth finish on your stainless steel appliances can be daunting, but with the right tools and techniques, restoring them to their original shine is possible.
You need the right tools and materials to achieve a smooth finish on your stainless steel appliances. These include sandpaper (in different grits), microfiber cloth, liquid cleaner or toothpaste, and water.
You will also need protective gear such as gloves and goggles.
The first step in achieving a smooth finish is removing fine scratches from your stainless steel appliances. This can be done by using sandpaper with a higher grit number (800-1200).
Next, you need to move on to removing deep scratches from your appliance.
This requires sandpaper with lower grit numbers (320-400) and higher ones (800-1200).
After removing the scratches, polishing your appliance is essential to give it that shiny look. You can use commercial products or home remedies such as vinegar or olive oil. A liquid cleaner or toothpaste method can also be used for polishing.
It’s important to clean away any paste after sanding and polishing your appliance properly.
In conclusion, achieving a smooth finish on your stainless steel appliances requires patience and attention to detail.
Following these steps carefully while using the tools and materials mentioned above can restore your appliance’s original shine.
FAQs
Q1: Can I use regular sandpaper for my stainless steel appliance?
A: No! Regular sandpaper has larger abrasive particles that could damage your appliance further. Use only sandpapers specifically designed for metal surfaces.
Q2: How often should I polish my stainless steel appliance?
A: It depends on how frequently you use your appliance. Generally, polishing once every 1-3 months is recommended to maintain a smooth finish.
Q3: Will vinegar damage my stainless steel appliances?
A: No, vinegar is a safe and effective cleaning agent for stainless steel appliances. However, it’s always best to test on a small inconspicuous area before using it on the entire surface.
Q4: Can I use baking soda to clean my stainless steel appliances?
A: Yes! Baking soda is an excellent natural cleaner that can be used to clean and polish stainless steel appliances. Mix it with water or vinegar to create a paste, and apply it gently with a microfiber cloth.
Q5: Is toothpaste effective in removing scratches from stainless steel appliances?
A: Yes! Toothpaste contains mild abrasives that can help remove minor scratches from your appliance’s surface. However, make sure you use white toothpaste and not gel-based ones as they won’t work effectively.